New Kernels break things. Old Kernels break things.
Sometimes in life you want to turn back time to simpler times.
I’m taking CS3211 and learning to use thread sanitizer (TSAN) to debug concurrent C++ programs.
Alas,
FATAL: ThreadSanitizer: unexpected memory mapping 0x5fb3d2108000-0x5fb3d2129000
Even the simplest of “hello world” programs (with no concurrency) results in a crash. Pain.
After hours of google-fu, prowling old-school forums and asking around, it turns out to be a kernel issue. TSAN breaks for old and new kernel versions. Pain. Shouldn’t have updated my kernel that fast…
The fix should be simple - just use a kernel between the 2 useless versions. (This happens to be 6.5.0-15-generic for me!)
The way to do this is surprisingly simpler than expected.
Choosing Kernels
It is possible to choose which OS or kernel you want to boot into.
To ‘hotswap’ kernels, we just need to tell the bootloader where the kernel images are and we can easily choose the kernel to apply
Hotswapping is basically:
- Install your kernel
- Create some
initrdobject - Dump into your bootloader folder
- Update your bootloader file
- Profit
1. Install your kernel
Imagine your computer as a hotswappable keyboard, and the kernel as a switch. You can plug in different switches to get differnet functionality (clicky1 or silent?)
Ubuntu/ubuntu-variant users rejoice! There’s an easy way to pick your Ubuntu kernel using mainline kernel installer

Otherwise, you’ll have to manually install the kernel.
| |
2. Create some initrd object
I won’t get into the specifics of initrd. Take it as a magic image file that is loaded during boot that bootstraps your kernel.
| |
This just makes sure you have the proper object to copy-paste in the next step.
3. Dump into your bootloader folder
The following is tailored for EFI boot systems.
You need to copy two types of things into the /boot/efi/EFI/Your_OS_Folder.
initrdvmlinuz
Go to the /boot folder (you probably need superuser access) and find the appropriate files with the kernel version you are trying to install.
It should be named like this:
initrd.img-<kernel_version>-genericvmlinuz-<kernel_version>-generic
Copy paste them into /boot/efi/EFI/Your_OS_Folder. Inside the ``/boot/efi/EFI/Your_OS_Folder` folder, there should already be default files with similar naming to what you are copy-pasting from.

Installed. That’s it!
4. Update your bootloader file
For the kernel to actually show up, you will need to edit the bootloader config.
| |
You probably want to set a non-zero timeout to be able to see the options.
5. Profit
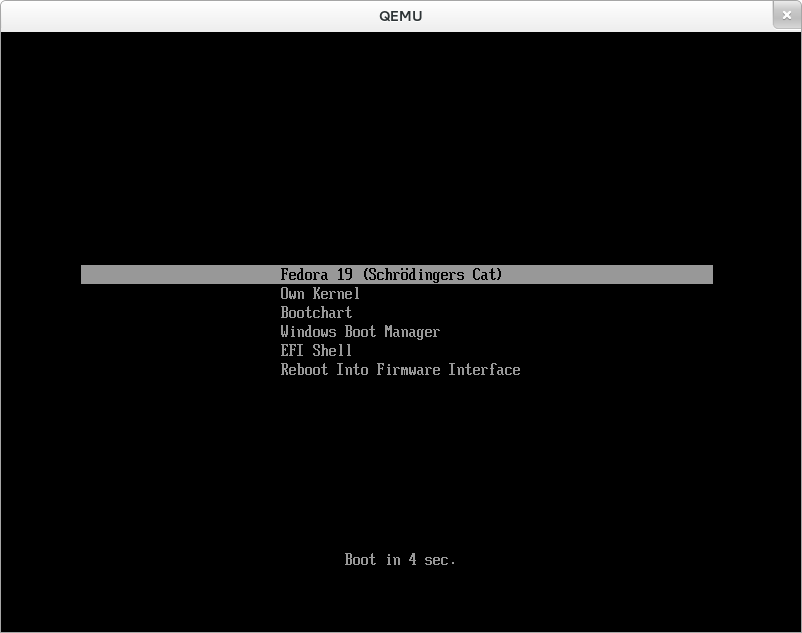
If all goes well, you’d be able to see and choose your new kernel the next time you restart, like this:
Clicky switch enthusiasts are psychopaths. ↩︎